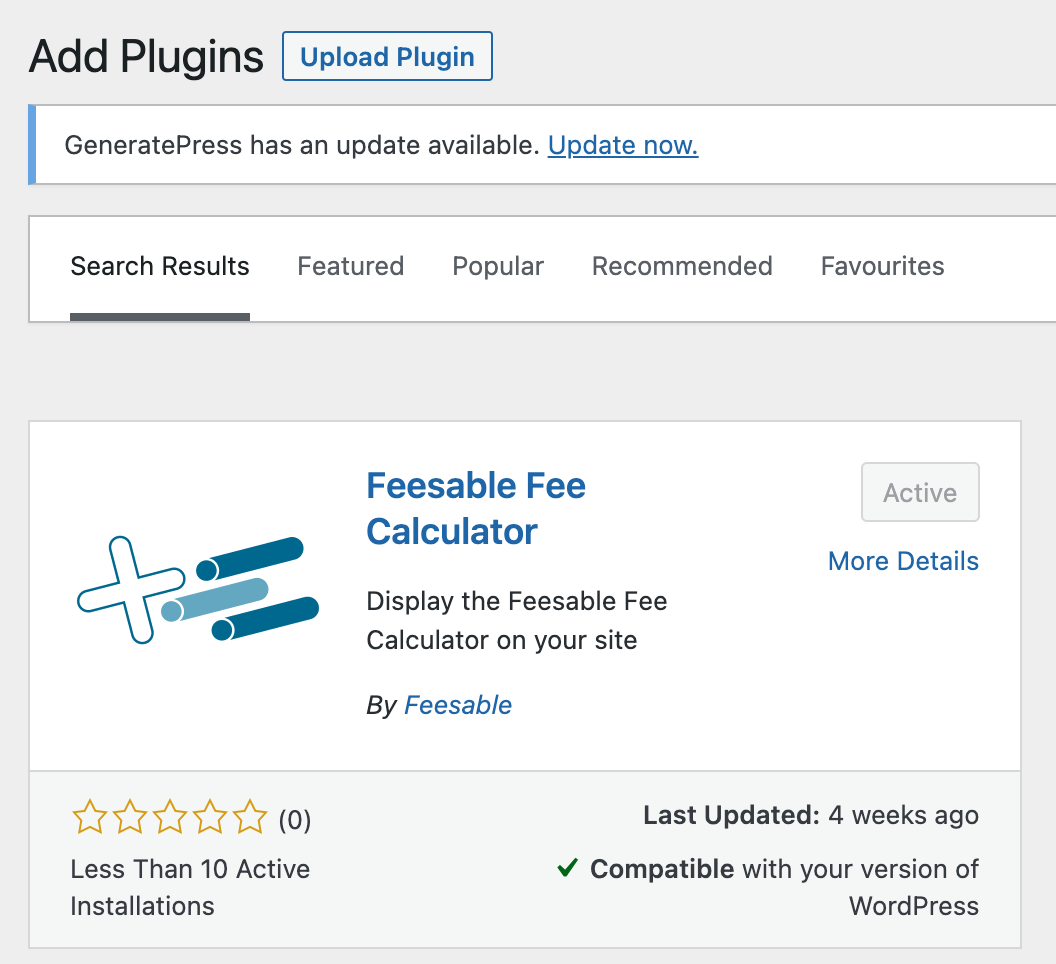
Plugin page
Basic information and instructions.
Display the Feesable Fee Calculator on your site
Installation Guidelines
We recommend you install the plugin via the automated installer interface within WordPress (Plugins > Add New). Just search for “Feesable”, then install and activate.
For more information please see https://wordpress.org/plugins/feesable-fee-calculator/#installation
Setup Instructions
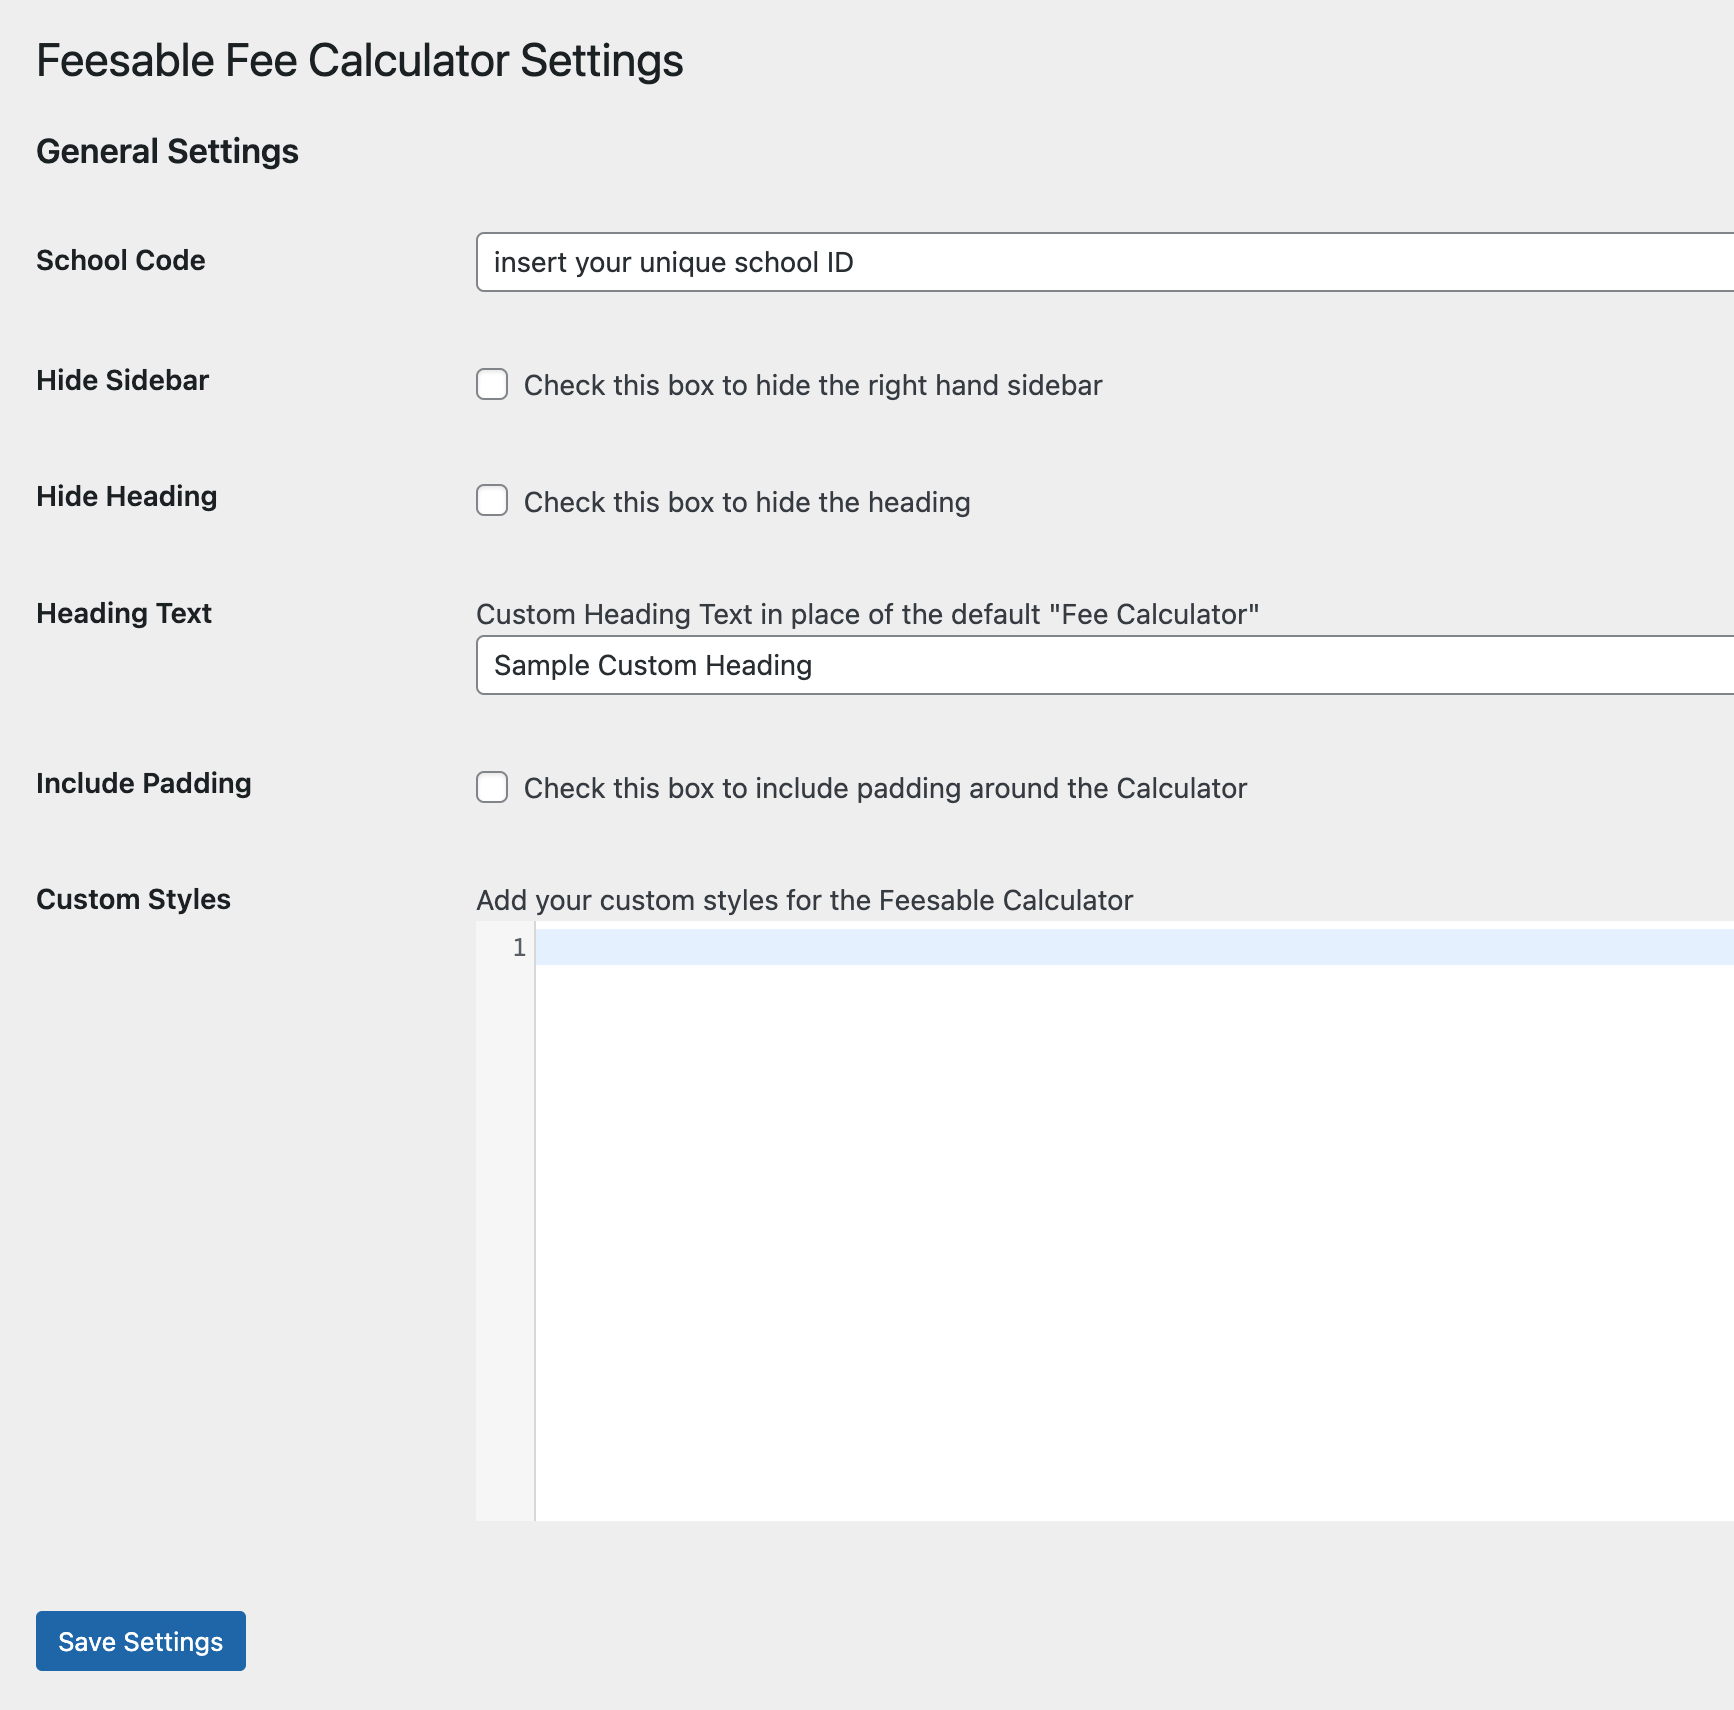
Once the plugin has been installed go to the plugin Settings page
Settings > Feesable (/wp-admin/options-general.php?page=feesable-fee-calculator-settings )
Settings
- Add your unique school ID (provided by Feesable)
- select relevant options for sidebar, heading and padding
- Add custom heading (if showing heading)
- add custom CSS if necessary (advanced users only – request support from Feesable)
- Click Save Settings
Add the Fee Calculator to a page:
- Add the
[feesable_calculator]shortcode to the desired page on your website (using the ‘shortcode’ block in the block editor, or your theme editor). - Save/Publish the page
- View and test your Fee Calculator is working and looking ok
- Make further changes to the settings as needed
Contact [email protected] if you have any questions or issues.